

How to Maintain Consistent Ink Flow: A 2026 Guide
Table of Contents
- How to Maintain Consistent Ink Flow: Quick Diagnosis First
- Why Is My Fountain Pen Ink Flowing Inconsistently?
- How to Make Pen Ink Flow Better: Step-by-Step Fixes
- Fountain Pen Cleaning and Maintenance Intervals
- Fountain Pen Storage When Not in Use
- Tattoo Cartridge Ink Flow: What Artists Should Check
- Preventing Clogs in Inkjet Printers and Art Inks
- Conclusion
- Frequently Asked Questions
Last Updated: October 5, 2026
How to Maintain Consistent Ink Flow: Quick Diagnosis First
Learning how to maintain consistent ink flow starts with one question: is the problem the pen, the ink, or the user? At Emalla Canada, we supply tattoo artists and studios across the country.
Ink flow is simply the rate at which ink moves from a reservoir to the tip. When that delivery stalls, you get hard starts, skipping, and lines that fade mid-stroke.
Here is the fastest way to sort out what you are dealing with:
- Fountain pen: the nib and feed are the usual suspects
- Inkjet printer: dried ink in the printhead causes most clogs
- Tattoo cartridge: air in the feed or a damaged membrane
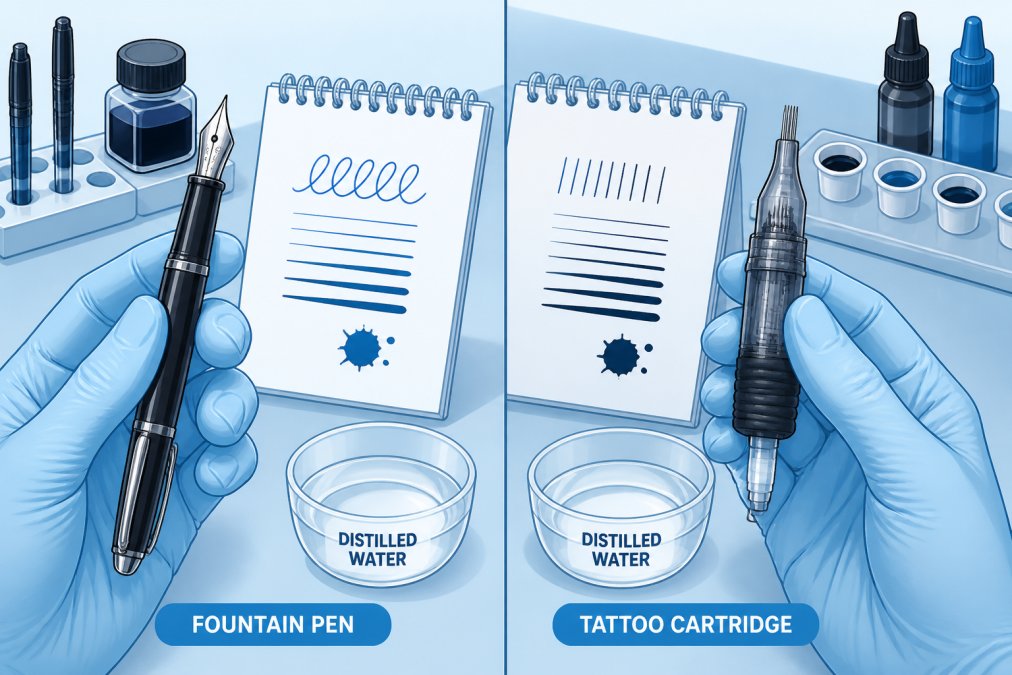
Why Is My Fountain Pen Ink Flowing Inconsistently?
A fountain pen flows inconsistently when the nib and feed stop working as a team. The feed moves ink by capillary action, and anything that breaks that path, misalignment, dried ink, or trapped air, shows up as skipping or hard starts. The trick is to match the symptom to the cause before you disassemble anything.
Symptom-to-Cause Map
| Symptom | Most likely cause | First check |
|---|---|---|
| Hard start after capping overnight | Dried ink at the nib slit or breather hole | Wipe the nib with a damp cloth, then test |
| Skips only on fast strokes | Tines too tight or feed channel partly blocked | Loupe the slit gap; flush the feed |
| Floods, then starves | Writing pressure spreading the tines | Relax grip; test with a light hand |
| Fades mid-page | Air entering at the converter seal | Check the converter for cracks or loose seating |
| Inconsistent from the first fill | Ink too viscous for the feed | Try a wetter, standard dye ink |
| Worse in winter or dry rooms | Low humidity pulling moisture from the feed | Cap between sentences; store in a case |
Check Nib Alignment and Writing Pressure
Nib alignment is the first thing to rule out. Look at the tip under a loupe.
Writing pressure matters just as much. Pushing hard spreads the tines and floods the page, then the pen starves on the next stroke. Light pressure keeps the gap steady.
A sprung nib, one bent past its limit, will never flow right again. That is a replacement, not a repair.
Ink, Paper, and Environment
Flow is not only a pen problem. Ink viscosity, paper sizing, temperature, and humidity all change how fast ink reaches the tip.
- Ink viscosity: Pigment and shimmer inks carry more solid particles than standard dye inks, so they move through the feed more slowly. If a pen skips only with one bottle, the ink is the variable, not the pen.
- Paper: Heavily sized or coated paper resists ink absorption, which can make a healthy pen look like it is skipping. Test on a known absorbent paper before blaming the nib.
- Temperature: Cold ink thickens. A pen left in a cold bag may hard-start until it warms in your hand.
Measurable Checks for Consistent Flow
Before and after any fix, run the same four checks so you can tell whether the change actually worked:
- Startup reliability: Cap the pen for ten minutes, then write the first letter. A consistent pen starts without a scribble.
- Skipping frequency: Write five full lines and count the gaps. Fewer than one gap per line is a reasonable target for a healthy pen.
- Line consistency: Draw a slow horizontal line and a fast one. The two should look the same weight.
- Recovery after a pause: Stop mid-sentence for thirty seconds, then continue. A healthy feed resumes without a hard start.
If a fix improves one check but not the others, you have found part of the problem, not all of it. Repeat the flush and re-test before moving to repair.
How to Make Pen Ink Flow Better: Step-by-Step Fixes
You can make pen ink flow better by working from the simplest fix to the most involved. Try each step, then write a test line before moving on. Most flow problems resolve at step three or four.
- Check the ink level. A cartridge or converter near empty pulls in air instead of ink.
- Prime the feed. Turn the converter knob gently to push ink into the feed.
- Clear air bubbles. Tap the pen lightly, nib down, on scrap paper.
- Rinse with distilled water. Flush until the water runs clear.
- Soak the nib and feed. Ten to fifteen minutes in lukewarm water loosens dried ink.
- Dry completely. Air dry overnight. Water left in the feed dilutes your next fill.
- Refill and test. Write a full line before you judge the result.
If the pen still skips after a full flush, the problem is mechanical, not maintenance. That is when you look at repair or replacement.
When to Seek Repair or Replace Parts
Send a pen for repair when the nib is visibly bent, the feed is cracked, or the section leaks. A sprung nib on a valuable pen is worth fixing. On an entry-level pen, a replacement nib unit usually costs less than the repair.
For tattoo cartridges, the rule is simpler: replace, never repair. A damaged membrane or bent needle bar cannot be fixed safely.
Fountain Pen Cleaning and Maintenance Intervals
Fountain pen cleaning and maintenance should happen every four to eight weeks with regular use. Pens in daily rotation need it more often; pens that sit idle need a full flush before storage.
| Situation | Action | Frequency |
|---|---|---|
| Daily use, standard ink | Quick flush | Every 4-6 weeks |
| Daily use, pigment ink | Full flush | Every 2-3 weeks |
| Occasional use | Full flush before storing | Each time |
| Switching ink colors | Full flush | Every change |
| Pen sitting idle | Flush and dry | Before storage |
Pigment and shimmer inks clog faster than standard dye inks. If you use them, shorten every interval above.
Distilled water is the right choice for flushing. Tap water leaves mineral deposits that build up in the feed over time.
Fountain Pen Storage When Not in Use
Fountain pen storage when not in use comes down to one rule: never store a pen with ink in it for long periods.
EMALLA ADJUSTABLE TATTOO INK MIXER - BLACK →
- Flush the pen until the water runs clear
- Air dry the nib and feed completely
- Store horizontally or nib-up in a case
For tattoo artists, the same logic applies to cartridges. Keep them sealed in the box until use, and never leave a cartridge mounted on a machine between clients. Air enters the feed and the next session starts with a hard start.
Tattoo Cartridge Ink Flow: What Artists Should Check
Tattoo cartridge ink flow depends on three things: the membrane, the needle bar, and how the cartridge seats in the machine.
Check these before every session:
- Seat the cartridge fully in the needle slot
- Confirm the membrane is intact and not torn
- Check the needle bar for bends
Membrane design is where cartridges differ most. You can see the full range at EMALLA ELIOT Tattoo Cartridge Needles.

If you mix custom ink shades, an adjustable mixer keeps viscosity even between batches. The EMALLA Adjustable Tattoo Ink Mixer runs three speeds with a 2000 mAh battery and includes five mixing sticks.

Preventing Clogs in Inkjet Printers and Art Inks
Preventing clogs in inkjet printers comes down to one habit: never let the printhead sit dry. Inkjet ink dries at the nozzle, and a printhead left idle for weeks can clog beyond what a cleaning cycle will fix. The mechanism is simple: as solvent evaporates from the nozzle, pigment particles concentrate and bind, and once that plug forms, no amount of software cleaning will dissolve it.
A Practical Maintenance Interval
| Situation | Action | Frequency |
|---|---|---|
| Printer used weekly | Standard print job | Weekly |
| Printer idle | Test page | Every 1-2 weeks |
| Printer idle in dry or hot room | Test page plus nozzle check | Weekly |
| After a long pause (month or more) | Deep clean cycle, then test page | Once, then resume schedule |
| Art inks in open containers | Stir and reseal | Every session |
Run a test page every week or two if the printer sits idle. Most printers have a built-in cleaning cycle, and running it early costs far less ink than clearing a full clog later. A deep clean cycle uses more ink than a standard one, so reserve it for a genuine clog rather than routine upkeep.
Art Ink Handling
For art inks, the rules shift slightly:
- Shake or stir before every use to even out pigment
- Thin only with the manufacturer's recommended medium
- Seal containers immediately after pouring
Ink compatibility matters when you mix brands or types. Some inks react with each other and form clumps that clog any feed. If you are unsure, test a small batch in a separate container first. A common pattern is a pigment ink mixed with a dye-based medium, which can separate within hours and leave grit in the feed.
Environment and Storage
Temperature and humidity affect both printers and art inks. A dry room accelerates evaporation at the nozzle and at the rim of an open jar. A hot room thins some inks and thickens others, depending on the binder. Storing inks and printers in a stable, moderate space does more for flow than any single cleaning product.
Conclusion
Inconsistent ink flow is almost never a mystery. It is air, dried ink, a seating problem, or pressure, and each one has a fix you can run in minutes. Build a short maintenance routine around your tools, and most flow problems stop before they start.
At Emalla Canada, we stock the cartridges and equipment that keep studios running without guesswork. Our EMALLA ELIOT cartridges use a three-layer membrane for steady discharge, our Grand G3 wireless pen machine runs a coreless motor with seven adjustable strokes, and our ink mixer keeps custom batches even.

Frequently Asked Questions
How often should I clean a fountain pen to maintain consistent ink flow?
Clean your fountain pen every 4 to 8 weeks with regular use, or immediately when you switch ink colors or store it for more than a few days. If you notice skipping, hard starts, or dry flow, flush the nib and feed with distilled water before assuming the pen is damaged. Pens filled with pigment or shimmer inks need more frequent cleaning, roughly every 2 to 3 weeks, because those particles settle in the feed and restrict ink delivery.
Can the wrong ink cause poor fountain pen flow?
Yes. Ink viscosity and formulation directly affect how well a pen writes. Thick or pigment-heavy inks can clog the feed and cause skipping or stopping mid-sentence, while very thin inks may produce inconsistent line consistency. Always use ink made for fountain pens, avoid mixing brands inside one reservoir unless you have tested the blend, and if you dilute ink, use only distilled water in small amounts. If flow problems started right after a refill, the ink is your first suspect.
What should I do if cleaning does not fix inconsistent ink flow?
If flushing the pen and letting it dry fully does not restore consistent flow, inspect the nib for misalignment or a sprung nib. Check that the feed sits flush against the nib and that no dried ink remains in the channel. For tattoo cartridges, try a fresh cartridge from the same box to rule out a single defective unit. If the problem persists across multiple cartridges or after a full cleaning cycle, the machine or pen may need professional service or a replacement part.
How should I store a fountain pen when it is not in use?
Store a fountain pen horizontally or nib-up to keep ink from pooling in the cap, and never leave it uncapped for long periods because air exposure dries the feed. For storage longer than a few days, empty and flush the pen first, then let it dry completely before putting it away. Keep pens away from direct sunlight and heat, which thicken ink and speed up drying. A clean, dry pen stored correctly will write without hard starts when you pick it up again.
Consistent ink flow comes down to routine, not luck. If your cartridges are the weak link, Emalla Canada supplies professional-grade Emalla Eliot cartridges, the Grand G3 wireless pen machine, and studio accessories built for daily use. Reach out to Emalla Canada and get supplies that keep your lines steady from the first stroke to the last.